
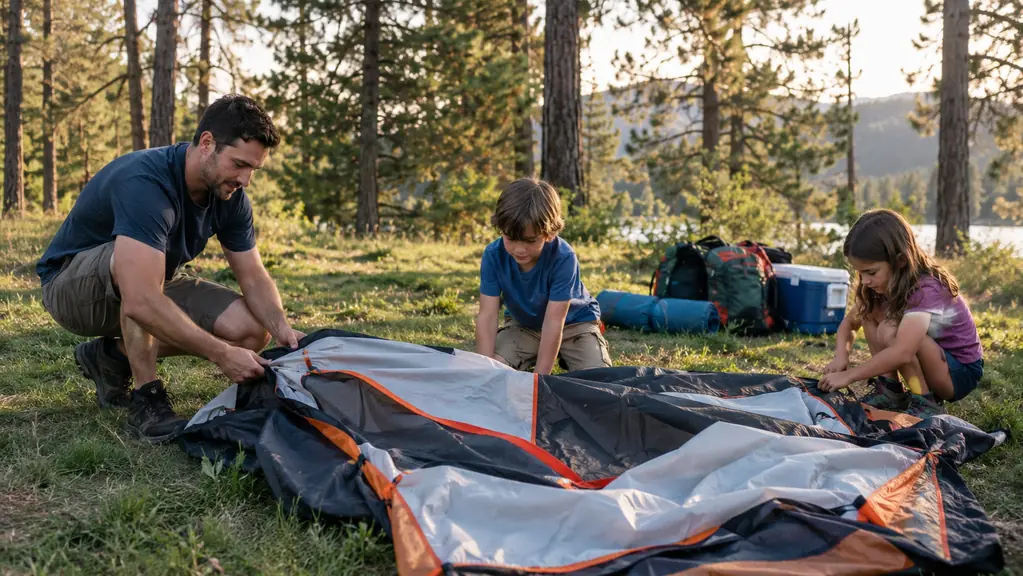
The first time we set up the CORE 9 Person Instant Cabin Tent, it took us 14 minutes with a 4-year-old "helping" by running through the middle of it. The second time it took nine. By the third trip, the kids had their own jobs and the whole thing went up before the teenagers finished arguing about who carried the cooler. If you are reading this because you just bought a cabin tent and you are picturing an hour of wrestling with poles, I promise it does not have to go that way.
I have been camping with my family every summer for about twelve years, and for most of that time we used a dome tent that took two adults and a lot of patience to assemble. The old one had a dozen loose poles, a color-coded sleeve system, and a rainfly that never went on the same way twice. By the time it was up, the kids had wandered off twice and someone was hungry. The CORE cabin tent changed the math for us because the poles are pre-attached. You unfold, you extend, you click. The kids can do a surprising amount of it themselves if you give each of them one job and let them feel like the tent is partly theirs.
The tent that made our family camping trips actually start on time
The CORE 9 Person Instant Cabin Tent is the one we reach for on every drive-up trip. Check today's price on Amazon to see if it fits your family's setup.
Amazon Check Today's Price on Amazon →Step 1: Pick your spot before you open anything
Walk the campsite first. Look for level ground, no low branches overhead, and a spot where rain would run away from the tent rather than under it. I have skipped this step exactly once, and we spent a damp night in Wyoming with water pooling along one wall. That was at a Forest Service campground near Flaming Gorge, and I had picked the only patch of grass that looked flat from the truck but actually sloped a good three inches across the middle. By 2 a.m. the kids' sleeping bags were damp along the edges, and I was outside in the rain tightening guylines. We moved the tent the next morning, and it took us twenty minutes to redo everything. Now the kids know the rule: nobody touches the tent bag until we have agreed on the spot.
Clear the ground of sticks, pinecones, and rocks. This is the perfect job for the youngest kid. A 4-year-old can walk the perimeter and pick up the obvious stuff while you and the older kids lay out the footprint or the tent body. If you use a ground cloth, lay it flat and pull it snug so there are no wrinkles under the floor. We use a plain 10 by 12 foot tarp, folded under at the edges so it does not stick out past the tent walls. If the tarp is wider than the tent, rain runs down the walls, pools on the tarp, and finds its way under the floor. Tuck it in tight and the floor stays dry.
One more thing: think about which direction the door should face. We like the door facing the picnic table or the fire ring, because that is where the kids run all day. It saves a lot of muddy-foot traffic through the sleeping area. If you are in a spot with strong afternoon sun, face the door away from it so the tent does not turn into an oven while you are out hiking. We learned that one at a campground in Idaho, where the sun hit the door wall from about 3 p.m. until sunset and the tent was unbearable to walk into until we flipped it around.
Step 2: Unfold the tent and find the corners
The CORE cabin tent comes out of the bag as one piece. The poles are already threaded through the fabric, which is the whole reason this goes up fast. Take it out, lay it flat, and spread it so the four corners are roughly in place. This is a two-person job the first time, but after a couple of trips the 12-year-old and I can do it alone. The tent body is 14 feet by 9 feet, so give yourself a clear patch of ground. The first time we unfolded it in the living room to practice, it covered most of the carpet and the 4-year-old immediately lay down in the middle of it like it was a swimming pool.
Before you spread it, check which side is up. The floor of the tent is a darker, heavier fabric, and the walls are lighter mesh and polyester. If you lay it out upside down, you will figure it out the moment you try to extend the first pole, because the doors will be on the wrong side. It is a two-minute fix, but it is easier to check first. The whole thing weighs about 30 pounds, and the bag has a carry handle and a shoulder strap, so one adult can haul it from the car to the campsite without a second trip.
Give each older kid a corner. The job is simple: hold the corner down and wait. Do not let them pull the fabric toward themselves, because that drags the whole tent off square. Just hold it in place. The teenagers can handle opposite corners and keep the tent from sliding while you move around and extend the poles. If you are setting up alone, weigh down two corners with the cooler and a duffel bag, then work the other two yourself.
Step 3: Extend the poles in order, not randomly
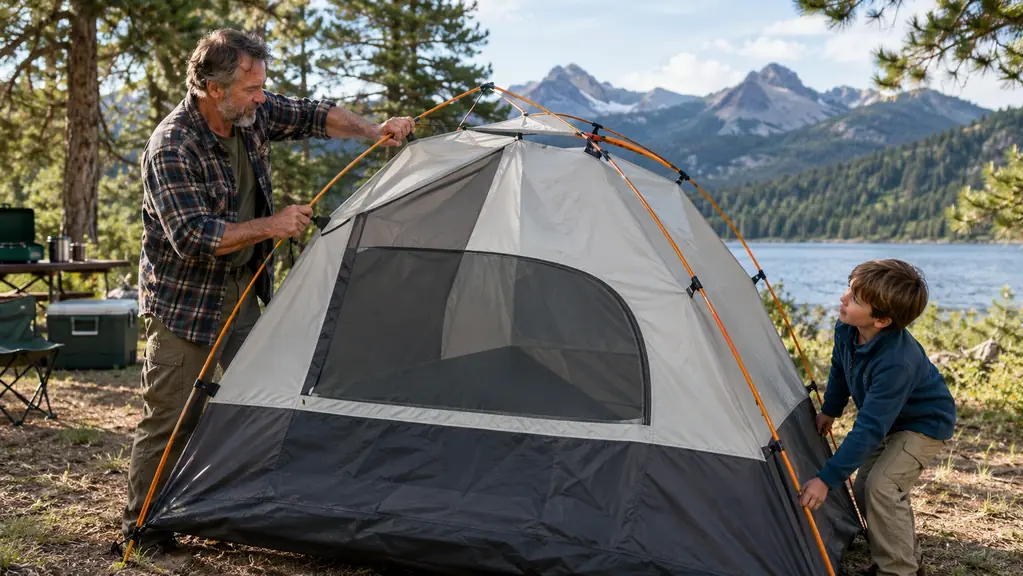
This is the step that saves the most time. The pre-attached poles on the CORE tent are hinged, and they fold up like an accordion. Start at one corner and extend that pole until it clicks, then move to the pole directly across from it, then the other two. Working in opposite pairs keeps the fabric even and stops one side from pulling tight while the other side sags. On our first trip with this tent, at a state park near Bear Lake, I skipped the opposite-corner order and extended all the poles on one side first. The tent looked like a crooked smile, and I had to loosen two poles and start over. It cost us maybe four minutes, but it taught me the order matters.
Each pole clicks into place with a firm push. You will hear it. If a pole will not click, check that the fabric is not caught in the hinge. That happens to us about once a trip, usually because a kid stepped on the fabric. Fix it before you push harder, because forcing a hinge is how poles break. The hinges are the most likely part to wear out, so we are careful with them. We have had this tent for three seasons now, and the hinges still snap clean, though the 10-year-old's corner takes a slightly firmer push than the others.
The kids can do this part themselves once they are tall enough to reach the top of the pole. Our 10-year-old handles the two low corners; the 12-year-old and the teenagers handle the high ones. The 4-year-old's official job is to stand back and shout which corner is next. It is not efficient, but it is very entertaining. By the third trip of the summer, the kids had the order memorized and I mostly stood at the door holding the center pole while they worked the corners. That was the trip where setup went from a parent job to a family job, and it is the reason we can pull in at 6 p.m., eat dinner, and still have the tent up before dark.
Step 4: Snap the center roof pole and adjust the legs
On the CORE 9 Person Instant Cabin Tent, the center roof pole is what gives the cabin its tall, roomy shape. Extend it last, after the four corners are locked. That way the fabric is already pulled tight and the roof pole has less work to do. Snap it into place and the tent basically stands up on its own.
Now walk the perimeter and adjust the adjustable leg sections. The legs on this tent telescope slightly, which lets you level it on uneven ground. On a slope, extend the downhill legs a little and leave the uphill legs shorter. It is not a substitute for picking a flat spot, but it fixes the small bumps that make sleeping bags slide around at 2 a.m. We camped on a slightly tilted site at a national forest campground in Utah last summer, and a one-inch adjustment on the downhill legs kept the kids' sleeping bags from sliding into a pile by morning.
Step 5: Stake the corners, then the middle, then the guylines
Staking is the step people rush, and it is the step that keeps the tent standing in a thunderstorm. Start with the four corners. Push the stakes in at a 45-degree angle, pointing away from the tent, so they resist the pull of the fabric. Use your foot, not your hand, to seat them. A rubber mallet is nice, but the heel of a boot works fine. The CORE tent comes with metal stakes, and we replaced a few with longer ones from the hardware store after one bent on a rocky site in Wyoming. If the ground is hard, move six inches over; a bent stake is a sign you are fighting the ground instead of working with it.
After the corners, stake the middle loops on each side. This is what keeps the walls from flapping and stops the bathtub floor from wrinkling. Then stake the guylines that come attached to the rainfly and the roof. If the weather looks iffy, stake every loop you can find. If it is a calm summer night, you can skip the guylines and the tent will still hold its shape. We learned the hard way during a storm at a campground in Idaho: we had staked the corners but skipped the guylines, and the wind caught the flat wall of the tent and pushed it in about a foot. Nobody got hurt, but the kids spent an hour holding the wall up while I went outside and staked every loop in the rain.
The kids can handle the corner stakes with a plastic mallet. The 4-year-old's favorite job is handing stakes to whoever is staking. The teenagers can do the guylines, which are the only part of the process that requires reaching over the roof. By the time the teenagers finish arguing about who carries the cooler, the tent is usually up and the sleeping bags are already inside.
What Else Helps
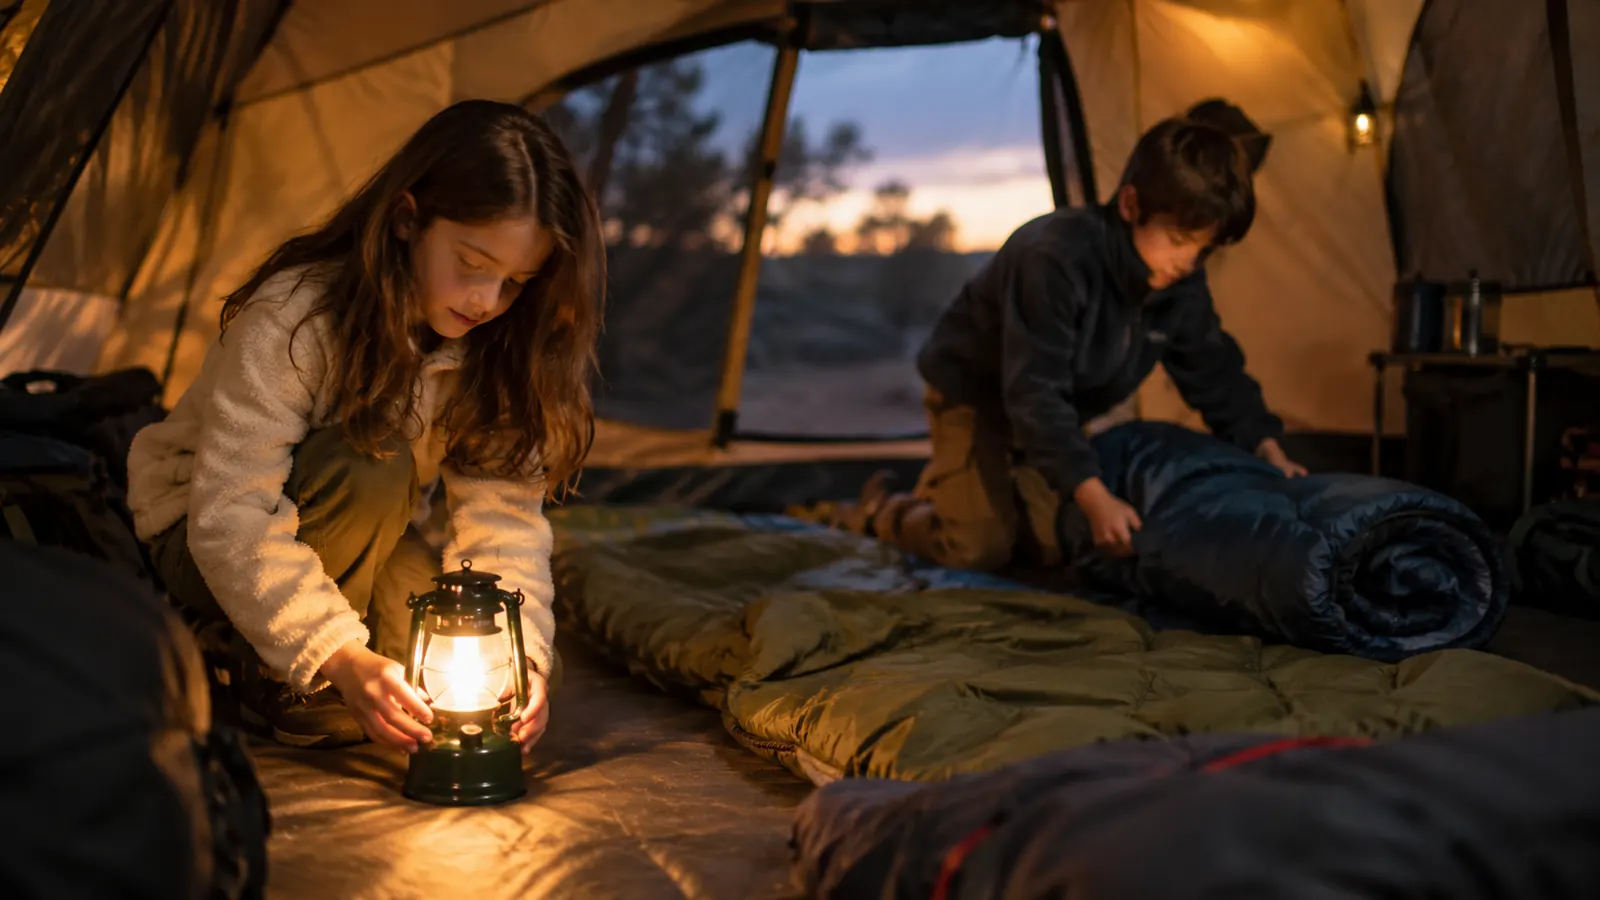
A few things that make setup even faster. Keep the tent bag in the rooftop cargo box with the stakes and a small mallet in the outside pocket, so you are not digging for pieces. We keep the stakes in a small canvas pouch inside the tent bag, because loose stakes slide to the bottom and take forever to find. The mallet lives in the cargo box, not in the tent bag, because the tent bag is already heavy enough. A headlamp or a lantern on the picnic table helps if you arrive late, and a cheap tarp under the tent keeps the floor cleaner, which means less sweeping before you pack it up on Sunday.
Practice at home once before your first trip. Set the tent up in the backyard, time it, and let the kids run through their jobs. It sounds like extra work, but it turns the first campsite setup from a frustrating hour into a 15-minute routine. We did this before our big summer road trip, and by the third campground the kids had the whole routine down while I parked the Expedition. One more habit: when you pack up on Sunday, fold the tent the same way every time. Roll the poles toward the center, fold the tent in thirds, and slide it into the bag with the floor on the outside. It takes an extra minute, but it means the next setup starts with a tent that lies flat instead of a tangled lump.
Fourteen minutes the first time, nine the second, and by the third trip the kids were setting it up while I parked the Expedition.
Make this the summer your setup stops eating the afternoon
The CORE 9 Person Instant Cabin Tent is the fastest large tent we have owned, and it has held up for three seasons of family trips. See today's price on Amazon and decide if it is the right fit for your crew.
Amazon Check Today's Price on Amazon →